Here's an overview:
- Introduction to Elastic Bracelets
- The Supplies for an Elastic Bracelet
- Different Types of Elastic for Bracelets
- Choosing Colors and Patterns
- Step-By-Step Instructions for Making a Basic Elastic Bracelet
- Techniques for Making Advanced Elastic Bracelets
- How to Add Beads and Charms to your Elastic Bracelet
- Tips To Make Your Elastic Bracelets More Durable
- Solving Common Problems When Making Elastic Bracelets
- Creative Ideas for Elastic Bracelets
- Organizing a Bracelet Making Party
- How to Wear and Combine Elastic Bracelets
- The Care and Maintenance of Elastic Bracelets
- Packaging and Presenting Elastic Bracelets as Gifts
- Final Thoughts: The Joy of Homemade Jewelry
Introduction to Elastic Bracelets
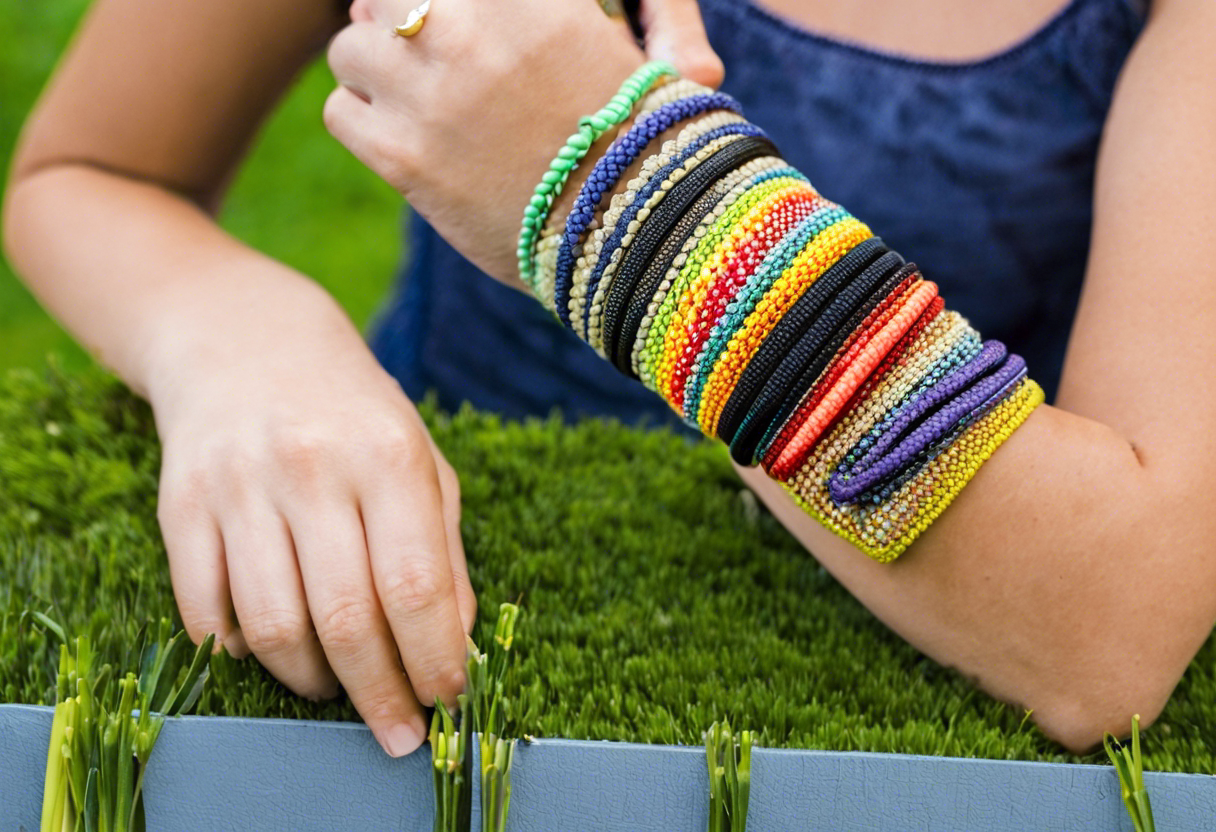
Making jewelry can be a relaxing hobby that also stimulates creativity. A particularly popular variant of this is making elastic bracelets. These cheerful and colorful accessories are loved by both children and adults and offer a range of personalization options through the choice of colors, beads and patterns.
Elastic bracelets are distinguished by their convenience and versatility. With just some elastic bands, a hook or a loom board, and a creative mind, you can quickly create a whole range of unique jewelry. This activity is not only fun, but also encourages fine motor skills and planning. Lovers of elastic bracelets also often share their creations and patterns online, creating a lively community in which people can inspire each other.
The following basic materials can be useful when making an elastic bracelet:
- Rubber bands in different colors and sizes
- Clasps to finish the bracelets
- A loom board or mini loom tool for more complicated patterns
- Plastic or metal crochet hooks for weaving and pulling
- Beads or charms for extra decoration
It is important to pay attention to the quality of the elastic bands when choosing materials. These should be stretchy and durable to prevent them from breaking easily. In addition, the choice of colors and texture also plays a role in giving a personal touch to the end product.
For beginners, a simple braid or herringbone pattern can be a good start, while more experienced makers can venture into more complex weaving techniques. The following sections of this article provide detailed steps and tips for getting started with elastic bracelets.
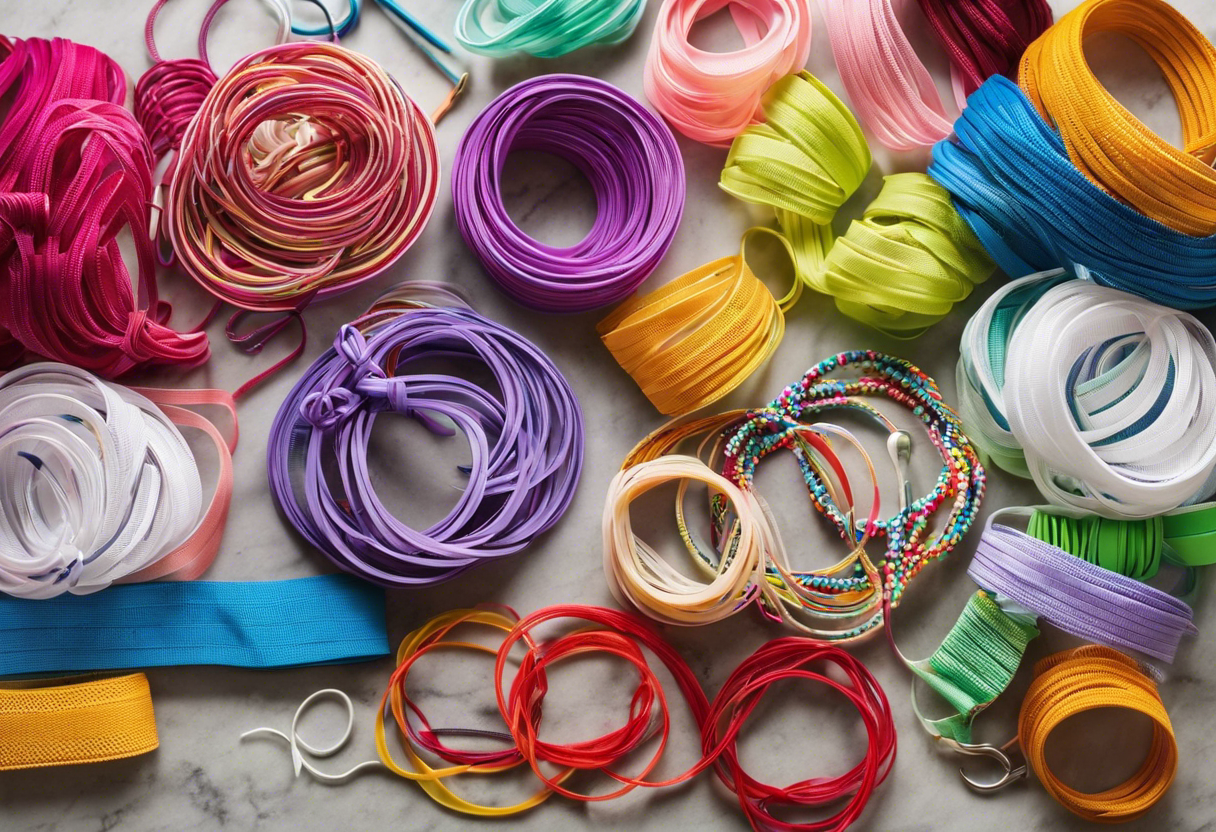
The Supplies for an Elastic Bracelet
Making an elastic bracelet requires some essential materials and tools. Here is a basic list of supplies to help start this creative process:
- Rubber bands : These are the foundations of the bracelet. Various colors and sizes are available. Choose sturdy, good quality elastic bands to ensure the bracelet lasts a long time.
- C-Clips or S-Clips : These clips are used to attach the ends of the rubber bands together.
- Loom Board or Mini Loom : This tool helps with the pattern and structure of the bracelet. A Loom board has pins around which the rubber bands can be wrapped.
- Crochet hook : A crochet hook is needed to weave the elastic bands together. Make sure you have a crochet hook that is sturdy enough not to break during weaving.
- Plastic or Metal Beads : If desired, beads can be added for an extra decorative detail. Make sure the beads are large enough to fit over the rubber bands.
- Scissors : Scissors are useful for cutting excess elastic after completing the bracelet.
- Optional - Loom Bands Toolkit : Some people like to have a special toolkit designed specifically for making loom bands. These kits often include a loom board, a crochet hook, clips and usually a sorting box for the rubber bands.
It is recommended to have all these materials ready before starting the project. This ensures a smooth and organized process, where the concentration can be completely on the creative aspect of making the elastic bracelet.
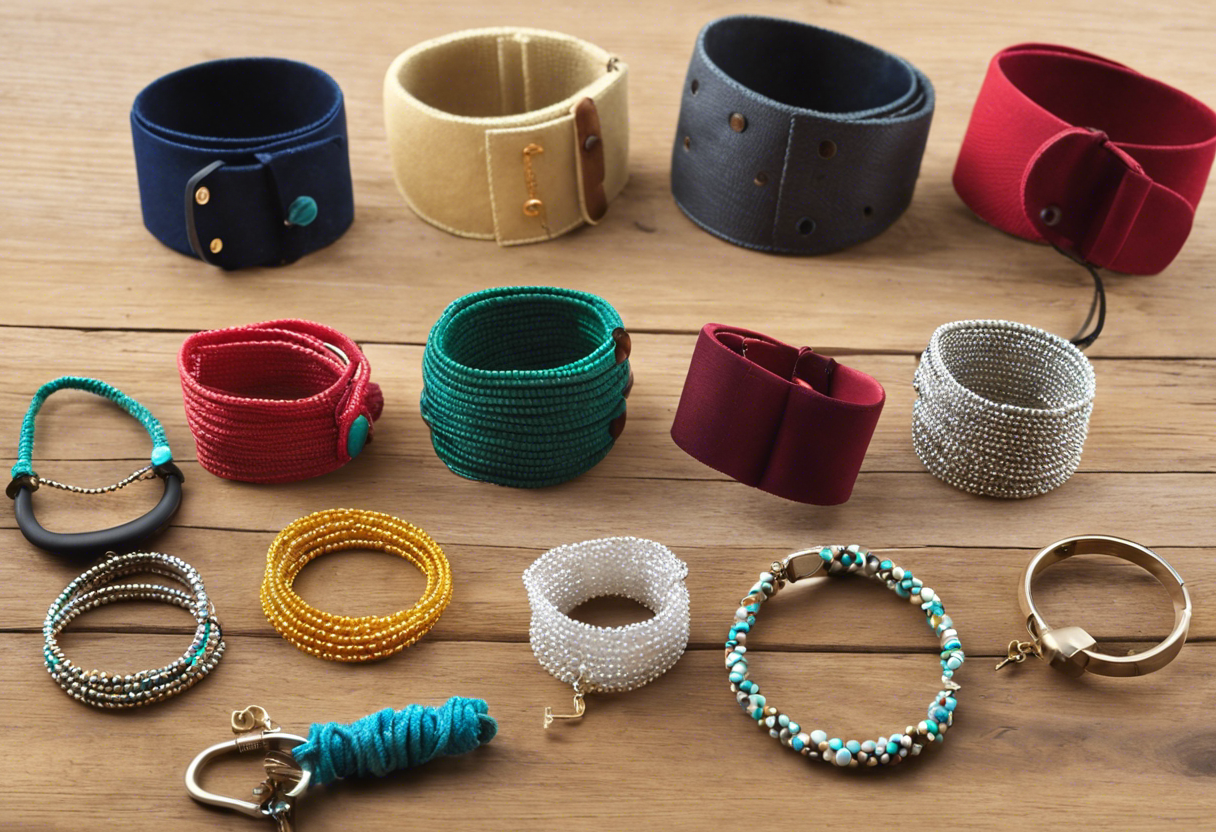
Different Types of Elastic for Bracelets
There are various types of elastic that can be used when making elastic bracelets. Depending on the type of bracelet and personal preference, you can choose from different types, thicknesses and colors. Below is an overview of common elastic bands for bracelets.
-
Round stretch cord : This type of elastic is available in different thicknesses and is very flexible. It is ideal for stringing beads and is often used for simple stretch bracelets.
-
Flat elastic : Flatter than the round stretch cord, often used for wider bracelets or bracelets where several rows of beads are next to each other. It provides a good foundation and is sturdy.
-
Nylon elastic thread : This is a strong type of elastic that is easy to knot. It is excellent for heavy beads and intensively worn bracelets.
-
Silicone stretch cord : Known for its durability and often transparent. Silicone stretch cord is very stretchy and long lasting, making it a popular choice for bracelets that are worn regularly.
-
Elastic thread with fabric cover : This type of elastic feels softer on the skin and is stronger thanks to the fabric outer layer. It is often somewhat thicker and therefore very suitable for larger jewelry such as cuffs.
The choice of elastic depends on both the design of the bracelet and the function it must fulfill. Consideration should be given to how often and under what circumstances the bracelet will be worn, as well as the weight and type of beads being strung. A good rule of thumb is to use a thicker and stronger type of elastic for heavier beads, while for lighter beads a thinner elastic will suffice.
Choosing Colors and Patterns

When making an elastic bracelet, the choice of colors and patterns is crucial to express your personal style. Below are some guidelines to help you with this:
- Color harmony: Choose colors that go well together. For example, you can consult a color wheel to select complementary colors (colors that are opposite each other), analogous colors (colors that are next to each other), or triadic colors (three colors that form an equilateral triangle).
- Seasonal colors: Consider seasonality in your color choice. Pastel shades for spring, bright colors for summer, earth tones for autumn and deep, rich shades for winter can give your bracelets a seasonal flair.
- Personal preference: Choose colors that match your personal taste or the clothing with which you want to combine the bracelet.
- Patterns: There are countless patterns possible when making elastic bracelets. Some popular designs are the fishtail, the ladder and the zigzag. Start with simple patterns if you don't have much experience yet.
- Accents: Add unique accents, like clear beads or shiny rubber bands, to make your bracelet stand out.
Trying out different combinations can lead to surprisingly good results and discover your personal preference. Make a few sample bracelets to see how different colors and patterns come together before starting your final design. Creativity and experiment are the key to making a beautiful, unique bracelet.
Step-By-Step Instructions for Making a Basic Elastic Bracelet
Making an elastic bracelet is simple and fun. Here you will find step-by-step instructions to create a beautiful bracelet.
Supplies:
- Elastic bands in desired colors
- A C-clip or S-clip to close the bracelet
- A loom (optional)
- A crochet hook or a plastic hook
Instructions:
-
Choose the Colors: Start by selecting the rubber bands in the colors you want to use for your bracelet.
-
Make a Basic Loop: Take an elastic band and fold it in half to create a loop. This will be the base of the bracelet.
-
Add More Rubber Bands: Take a second elastic band, put it through the loop of the first and fold the ends together to make a new loop.
-
Repeat the Action: Repeat this step with new elastic bands, always through the previous loop, until the bracelet reaches the desired length.
-
Finish the Bracelet: If the bracelet is long enough, use a C-clip or S-clip to secure the ends together. Make sure you secure the last loop to the clip.
-
Check the Size: Check whether the bracelet fits properly on the wrist and make any adjustments by adding or removing elastic bands.
-
Ready for use: Your elastic bracelet is now ready! Wear it with pride or give it to a friend.
With these simple steps you can quickly create a personalized, elastic bracelet. Experiment with different colors and patterns to create unique jewelry.
Techniques for Making Advanced Elastic Bracelets

Making advanced elastic bracelets goes a step further than the basic steps. Below are a number of techniques that can be used to make more diverse and complex bracelets:
-
Braiding techniques :
- The Fishtail : This technique requires the use of two pins of a loom board. The elastic is placed in a figure-eight pattern and then braided over each other.
- The hexafish : A more elaborate version of the fishtail, using six pins for a wider and thicker bracelet.
-
Use of multiple layers : This technique involves stacking multiple layers of rubber bands on top of each other. This can provide a 3D effect or extra texture.
-
Incorporation of beads :
- Beads can be threaded between the elastic bands to decorate the bracelet.
- Note the size of the bead holes; these must be large enough for the rubber bands.
-
Creating patterns :
- By strategically placing different colored rubber bands, one can create patterns such as stripes, dots or even images.
-
Add slider charms : Special charms, called sliders, can be slid over the elastic bands. They add a nice detail and make the bracelet more personal.
-
Making a bracelet without a loom :
- For those who want to experiment, an advanced bracelet can be woven by hand, without the use of a loom.
- This requires dexterity and patience, but allows for unique designs.
Experimenting with various techniques enriches the possibilities and stimulates creativity in the process of making elastic bracelets. By developing your own style and trying out new combinations, you create unique jewelry that will certainly catch the eye.
How to Add Beads and Charms to your Elastic Bracelet
Adding beads and charms to your elastic bracelet is an easy way to make your creation personal and unique. Here's how you do this:
-
Choose your Beads and Charms:
- Select beads and charms that match the theme or color scheme of your bracelet.
- Make sure the holes in the beads are large enough to thread the elastic through.
-
Determine the Design:
- Lay out your beads and charms in the design you want to add to your bracelet.
- Play with the order until you are happy with the look.
-
String the Beads and Charms:
- Cut a piece of elastic long enough for your bracelet, plus extra for tying.
- Thread a stop bead onto the end of the elastic and tie a knot to prevent the other beads from sliding off.
- Start by stringing the beads and charms onto the elastic in your chosen order.
-
Allow for Space for Knotting:
- Leave about two inches of elastic at both ends for finishing the bracelet.
- Test the length by trying the bracelet on your wrist.
-
Complete the Bracelet:
- When all the beads and charms have been strung, remove the stop bead.
- Tie the ends of the elastic together securely with a strong knot, such as a surgeon's knot or a double knot.
- If possible, hide the knot in one of the larger beads.
- Cut off the excess elastic close to the knot.
Now you have a beautiful elastic bracelet enriched with your favorite beads and charms. It is a great way to express yourself with a piece of jewelry that is completely tailored to your taste.
Tips To Make Your Elastic Bracelets More Durable
Elastic bracelets are fun and colorful, but they can wear out quickly if they are not properly cared for. To extend the life of your bracelets, you can apply the following tips:
-
Quality of Elastic: Invest in high-quality elastic. Bracelets made from better quality elastic stretch less quickly and therefore last longer.
-
Proper Storage: Store elastic bracelets in a dark, cool place. Sunlight and heat can dry out the elastic and reduce its elasticity.
-
Avoid Water: Remove the bracelets when showering, bathing or swimming. Water can damage the material and increase the chance of breakage.
-
Mild Cleaning: If the bracelets are dirty, clean them gently with a damp cloth and mild detergent. Harsh chemicals can damage the material.
-
Careful Wearing: Do not pull on the bracelets unnecessarily and avoid sharp objects. This can stretch or cut the elastic.
-
Rotation of Bracelets: Don't wear the same bracelet every day. Rotation allows each bracelet to 'rest' and retain its shape.
By following these simple care tips, you can significantly extend the life of your elastic bracelets and continue to enjoy your homemade jewelry.
Solving Common Problems When Making Elastic Bracelets
When making elastic bracelets, hobbyists can often encounter problems that are easy to solve. Below are some tips to overcome common obstacles:
-
Elastic stretches or breaks : Make sure you use quality elastic and don't pull it too tight when tying. It is also important to use the correct knotting technique that does not put too much strain on the elastic.
-
Bracelet does not fit : Measure the wrist in advance and add a few centimeters for closure and comfort. You can also design the bracelet with adjustable closures such as sliding buttons or additional loops.
-
Pattern is inconsistent : Keep a clear pattern and place the beads and elastic next to you in the order in which they are to be processed. If necessary, use a bead board to explain the pattern.
-
Beads falling off the elastic : Use a bead stopper or paper clip on the end of your elastic as you work to keep beads from falling off.
-
Button comes loose : Make sure you fasten the end button properly and, if necessary, secure it with a small amount of jewelry glue for extra security.
-
Beads with openings that are too small : Check the opening of the beads before designing to ensure they will fit over the elastic. If necessary, choose beads with larger openings or a thinner elastic.
By applying these tips, many frustrations while making elastic bracelets can be avoided and the end result will look more professional and durable. With patience and practice, making elastic bracelets will become easier and easier.
Creative Ideas for Elastic Bracelets
Making elastic bracelets is a fun and creative activity that is accessible to everyone. Below are some original ideas to provide inspiration:
- Rainbow Pattern : Combine elastic bands in all the colors of the rainbow to create a cheerful and colorful bracelet.
- Name Bracelet : Use letter beads to give a personal touch by incorporating names or words into the bracelet.
- Charm Bracelet : Add charms between the elastic bands for a playful effect and a unique twist.
- Glow-in-the-Dark : Use rubber bands that glow in the dark for a surprising and fun aspect, especially fun for children.
- Wide Pattern : Experiment with a wider weave for a statement piece that stands out more.
- Braiding : Incorporate simple or complex braiding patterns for a sophisticated look.
- Bicolor Spiral Pattern : Twist two colors of rubber bands around each other for a dynamic spiral effect.
- Ombre Style : Choose elastic bands in different shades of the same color to create a beautiful gradient effect.
Each technique adds a new dimension to the bracelet and can help refine fine motor skills and design skills. Furthermore, it is an excellent activity for both children and adults and can contribute to a sense of achievement from making unique jewelry yourself. With patience and practice one can develop increasingly advanced patterns and techniques.
Organizing a Bracelet Making Party

A bracelet making party is ideal for creative souls and offers a fun way to make unique jewelry together with friends or family. Here are steps and tips to organize such a party:
-
Guest list : Decide how many guests you want to invite. Keep it manageable so that everyone has enough space to work.
-
Invitations : Send personalized invitations with all the details such as date, time and whether guests should bring anything special.
-
Materials : Make sure you have plenty of rubber bands in different colors, beads, charms, clasps, and tools such as scissors and flat-nose pliers. Also consider cloths to protect the table.
-
Workspace : Provide a large table or several small tables where everyone can work comfortably. Good lighting is important, especially when working with small parts.
-
Examples and Instructions : Explain examples of different bracelets so guests can get ideas. You can also print step-by-step instructions or host a short workshop.
-
Food and Drinks : Provide tasty snacks and drinks. Think of snacks that can easily be eaten with one hand, leaving the other hand free for crafting.
-
Atmosphere : Create a relaxing atmosphere with background music. Also make sure there is enough space for guests to walk around and admire each other's work.
-
Goodie Bags : Offer each guest a goodie bag containing a thank you note and perhaps an extra pair of rubber bands or beads to take home.
By following these steps, you will ensure a well-organized bracelet making party that everyone will enjoy and will be left with a personal keepsake.
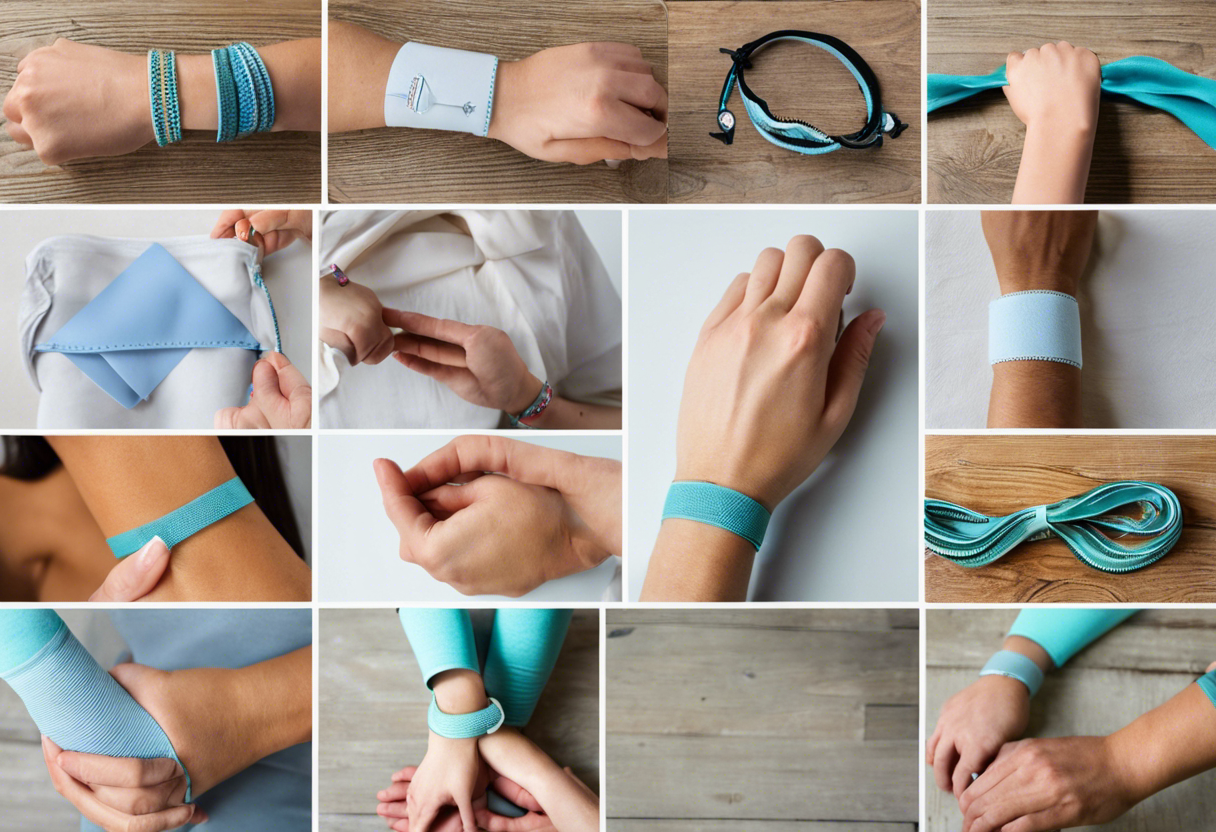
How to Wear and Combine Elastic Bracelets

Wearing and combining elastic bracelets depends on personal style and preference. It can give both a playful and elegant touch to your outfit. Here are some tips on how to wear and combine elastic bracelets:
-
Find the right size : Make sure the bracelet fits properly. A bracelet that is too tight can be uncomfortable, while a bracelet that is too loose can slip.
-
Mix and match colors : Elastic bracelets come in all kinds of colors. Combine different colors to create a lively and playful look.
-
Play with widths : Mixing narrow and wide bracelets together adds texture and interest to your wrist.
-
Vary styles : In addition to plain bracelets, you can also opt for bracelets with beads, charms or other decorations to make your look unique.
-
Create balance : If you wear bracelets on both wrists, try to find a balance so that it doesn't become too busy.
-
Involve your outfit : Make sure your bracelets match the style and colors of your outfit. With a formal outfit it might be better to use neutral or subtle colors.
-
Think about your activities : If you are very active or work with your hands, it may be wise to opt for sturdier elastic bracelets that are less likely to break.
The most important thing is that you wear what you feel good in and what best reflects your personal style. Elastic bracelets are versatile and can be adapted to any occasion, so experiment!
The Care and Maintenance of Elastic Bracelets

Caring and maintaining elastic bracelets is essential to extend their lifespan and ensure they remain beautiful. Below are some tips to keep your elastic bracelets in top condition:
-
Cleaning: Elastic can attract dust and dirt. Clean the bracelets regularly with a soft, damp cloth to remove dirt. Prevent the bracelets from coming into contact with chemicals such as perfumes, lotions or cleaning products, as these can damage the material.
-
Storage: Store the elastic bracelets in a dry place, preferably separately in a jewelry box or bag to prevent them from becoming tangled with other jewelry or damaged.
-
Handling moisture: Although some elastics are water resistant, it is best to avoid exposing them to water for long periods of time. Remove the bracelets before showering, swimming or exercising.
-
Avoid stretching: Do not stretch the bracelets unnecessarily. This can cause the elastic to stretch and eventually lose its shape.
-
Direct sunlight: Do not expose the bracelets to direct sunlight for an extended period of time, as this can lead to discoloration and weakening of the elastic.
-
Temperature: Do not store your elastic bracelets in places with extreme temperatures. Heat can stretch the elastic and cold can make it brittle.
By following these simple steps, your elastic bracelets can accompany you for a long time as stylish accessories to your daily outfit. Regular maintenance ensures that the shine and elasticity are maintained.
Packaging and Presenting Elastic Bracelets as Gifts
When it's time to give a homemade elastic bracelet as a gift, the presentation is almost as important as the bracelet itself. A beautifully wrapped gift can make receiving it even more special.
- Start by choosing suitable packaging. Depending on the occasion, this could be a simple colored paper bag, a velvet bag, or even a small jewelry box.
- Make sure the bracelet is clean and tidy before packing it. A light rub with a soft cloth can give it an extra shine.
- If necessary, place some protective material in the packaging, such as tissue paper or some cotton, to protect the bracelet.
- Place the bracelet in the packaging. If the bracelet is very flexible, wrap it loosely to prevent loss of shape.
- Close the package and decorate it with a ribbon or string. A bow or curled ribbon creates a festive effect.
- Consider adding a personal touch, such as a handwritten card or a sticker with a nice message on it.
- If you send the bracelet, make sure it is in a sturdy envelope or box, so that it is not damaged during shipping.
By following these tips, a simple elastic bracelet becomes a thoughtful and beautifully presented gift. It adds to the emotional value of the gift and shows the effort and attention that has gone into it.
Final Thoughts: The Joy of Homemade Jewelry
Creating homemade jewelry is an activity that can be very satisfying. The moment someone puts an elastic bracelet you designed on his or her wrist is priceless. It is not only a personal expression of creativity, but also an expression of dedication and care for the person who will wear it.
- The pride that comes from wearing homemade jewelry is unique.
- Making an elastic bracelet can be a meditative process; a soothing rhythm that helps you relax after a long day.
- Plus, it's a fantastic way to add a personal touch to your outfit and show who you are.
Sharing your creations can inspire others to get started themselves. Perhaps a simple bracelet will ultimately become the symbolic starting signal for a creative journey of discovery.
- Give homemade jewelry as a gift and see the joy and surprise on the recipient's face when they realize it is handmade.
- Organize a craft afternoon with friends or family and share the joy of creating together.
- Use it as a learning experience for children to teach them the value of patience and accuracy.
Making elastic jewelry is accessible and an activity that does not require much, except some basic materials and a dose of imagination. In a world that sometimes feels rushed and impersonal, making something with your own hands provides a welcome counterbalance. So get started and discover the wealth of homemade jewelry.